
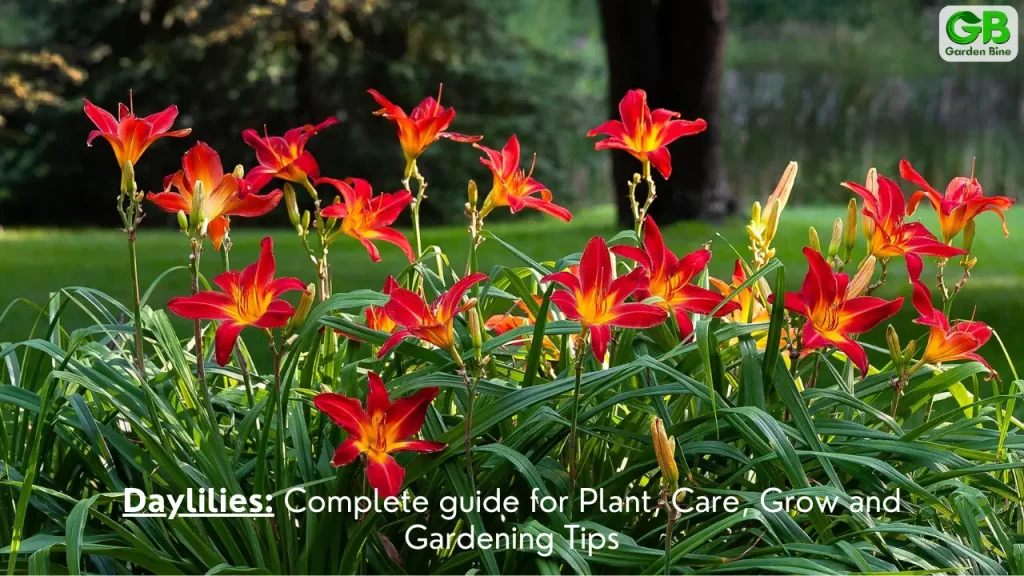
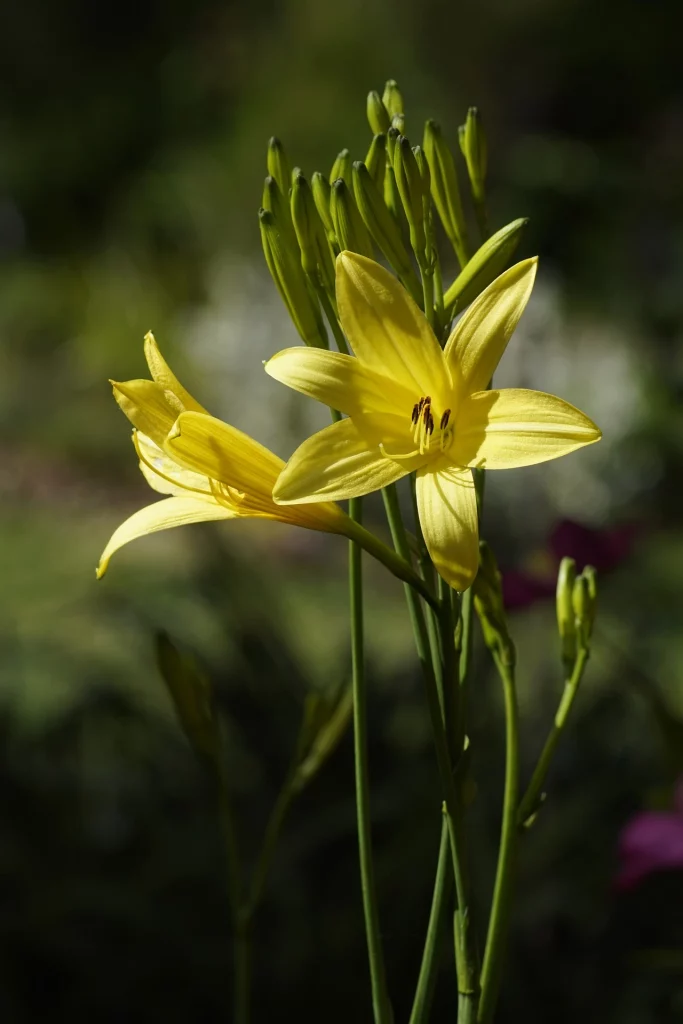
Daylilies are a popular perennial flowering plant that produces flowers in a variety of colors. Daylilies demand very little maintenance. Along with being resistant to diseases and pests, it is also drought-resistant. Nor does it demand specific quality soil. Its flowers have a long blooming period! Initially, it existed only as a plant with yellow or red flowers. But after going through years of breeding and development processes, today they are living with many changes. Now they produce flowers of different colors like white, yellow, red, pink, orange, and purple. This evolutionary process has not only expanded their color palette but also led to variations in their height and type of blooms. There are many species of these, some of which also have good aroma.
In this article, we are telling where to plant daylilies, when and how to plant them, care tips, pests and problems for daylilies and prevention, propagation of daylilies and finally growing daylilies in pots.
About Daylilies
The botanical name of daylily is Hemerocallis. It is made up of two Greek words which mean day and beauty. Each flower lasts only for one day. There are 12 to 15 buds on each shoot, due to which the flower appears to be in continuous bloom. True lilies grow from onion-like bulbs. Whereas daylilies grow from fleshy roots. So despite their name, daylilies are not “true lilies”.
You have the option of thousands of beautiful varieties of daylilies to choose from. To have Daylilies flowers in your garden from, ‘late spring’ through ‘the first frost of fall’ you can combine different varieties of Daylilies. For this you can choose ‘early’, ‘midseason’, ‘late blooming’, and ‘repeat bloomers’ varieties.
Daylilies: At a Glance
| Botanical Name: | Hemerocallis spp. |
| Common name: | Daylily |
| Genus Name: | Hemerocallis |
| Plant Type: | Perennial Flower |
| USDA hardiness zones: | 3 to 9 |
| Soil pH: | Slightly Acidic to Neutral |
| Sun Exposure: | Full Sun, Part Sun |
| Propagation: | Division, Seed |
| Plant Height: | 1 to 3 feet |
| Plant Width: | 1 to 3 feet |
| Foliage Color: | Green |
| Flower Color: | White, Orange, Pink, Purple, Red, Yellow |
| Special Features: | Fragrance, Good for Containers, Low Maintenance, Attracts Butterflies |
| Season Features: | Spring Bloom, Fall Bloom, Summer Bloom |
| Problem Solvers: | Drought Tolerant |
Where to Plant Daylilies (Choosing a Planting Site)
- The good thing about daylilies is that they can be planted at any place. They are even seen growing on roadsides, known as “ditch lilies”.
- You may like a single type of daylily or may be attracted to varieties with different colors and shades, the choice is yours. But it is certain that daylilies will definitely enhance the beauty of your garden. Before planting these in your garden, you should make a plan. In whatever form these are installed, they enhance the beauty of the area. If they are deployed on a large scale, they may be deployed in the following forms:
- as a bed,
- in front of the walls,
- as a fence or
- along the walkway
Then their attraction will increase many times more.
- When planning to plant daylilies, keep in mind that they require full sun. In such circumstances, their performance is highest. But, due to continuous development, they have become so hardy that they can tolerate even partial sun. Besides, good drainage and fertile soil are also important for them.
- Another thing to keep in mind is that they grow and spread. Their fleshy roots form a thick mat. Be sure to give them enough space to account for this spread.
- Keeping in mind that they get proper nutrients, avoid planting them near trees and bushes. If they are planted in such a location, they will not die out but will compete for moisture and nutrients, potentially impairing their performance.
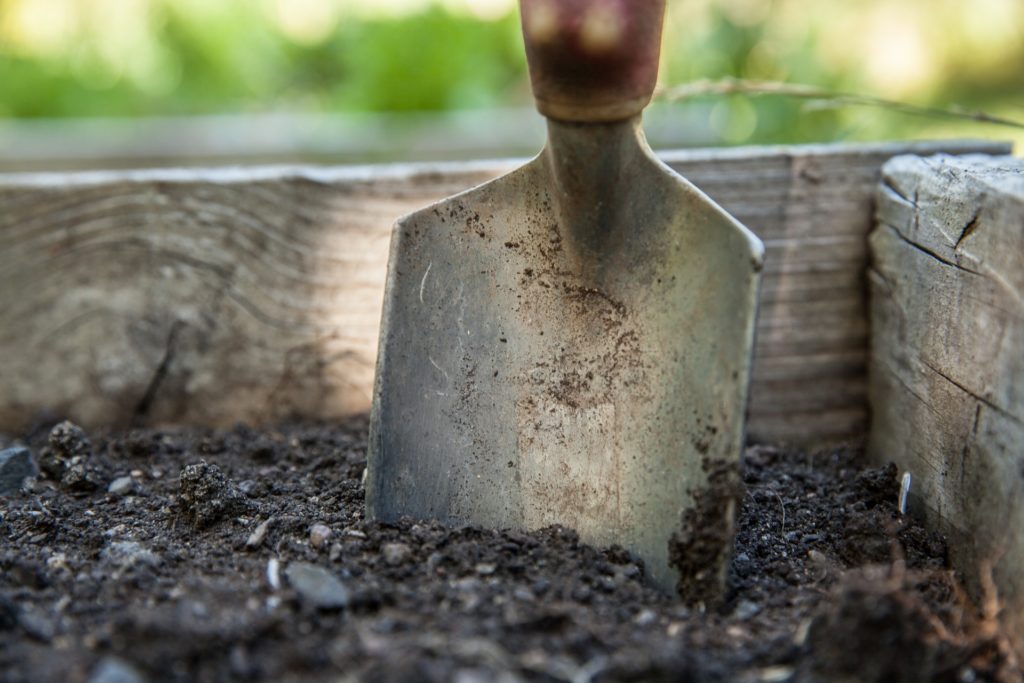
Preparing the planting site
You will have to make some efforts to provide them with ideal conditions for growth. In this sequence, the soil will have to be made with good drainage. It is necessary for the soil to be rich in organic matter. For this, old manure or compost can be mixed in the soil before planting. Also, it would be better if the soil was slightly acidic. It is recommended to keep the pH level of the acid between 6.0 and 6.5.
When to plant daylilies
As soon as the soil becomes suitable in spring, daylilies can be planted. The best time for this is early fall (more specifically at least 6 weeks before the first frost).
When to buy daylilies and in what form they are available
Daylilies are available for planting as both bare-root and potted plants. The only difference between these two forms is that in one the plants have emerged while in the other the plants are yet to be seen. The process of planting both is the same.
Bareroots of daylilies are usually available for planting in early spring. While potted daylilies can be purchased throughout summer through fall.
How to plant daylilies
Dig a hole for planting potted daylilies. This pit should be twice the root system in width and depth. Place the root of the plant in the hole and fill it with soil. Keep in mind that the part of the plant where the root and stem meet should remain just above the soil level and make a mound.
On the other side, dig a hole to plant the bare roots of the daylilies. Here also the width and depth of the pit should be almost double that of the bare root. After putting the barefoot in the pit, fill it with soil.
It depends on its type and how much distance you should keep between two plants. Generally, if the plants are going to be small or medium-sized later, then they should be planted at a distance of at least 18 inches. Additionally, it would be best to plant larger types of daylilies at a distance of at least 2 feet.
Finally, water slowly and deeply after planting. Also, keep them well-watered during the first growing season.
Also read: Dahlia: An Ultimate Guide For Dahlias Planting, Growing, Caring & More
Care Tips for Daylilies
Lighting conditions
As mentioned earlier, daylilies prefer full sun but are also able to tolerate partial sun conditions. As another condition, some varieties of this flower, which have more showy flowers, prefer a partial sun position. If they are sown in full sun position they may die.
Soil
Daylilies are able to tolerate many different soil conditions, as their roots are thick and fleshy. Moreover, they have gone through many stages of development over time, due to which many types of immunity have developed in them. Nevertheless, they like soil rich in organic matter which is slightly acidic.
Water
Newly planted daylilies should be watered regularly. Don’t let them lack water when they are blooming. Good drainage is very important for them and well-drained soil is considered ideal. Otherwise, their roots may rot due to excess moisture.
Temperature and humidity
One of the many reasons why daylilies are loved is that they are not very sensitive to temperature and humidity. They can be grown in different types of climates. Such as winter-hardy in climates where temperatures are below zero and also in hot climates. Similarly, they grow comfortably in high humidity as well as dry weather.
Fertilizer
They are not yearning for fertilizer. If at the time of planting, suitable fertile soil has been arranged for them, then low-nitrogen balanced fertilizers which release slowly and fertilizers given annually are sufficient for them. This is enough for them to keep blooming at their best.
Pruning
Pruning is an important process for daylilies. Remove yellowed or dried leaves during the growing season. This makes the plants look clean and beautiful. Do not remove good leaves until the right time comes. Leave the leaves on the plant until the first frost, so that the plant can complete the process of creating and storing the said energy with the help of the leaves. Cut the plant’s stalk back to about 4-5 inches above the ground shortly after the end of the flowering season (as soon as the last flower has bloomed). By doing this, the plants will focus all their energy on surviving the winter and storing energy for next year’s growth, rather than on developing seeds.
Growing Daylilies in Pots (Potting and Repotting)
- Growing daylilies in pots would be a good decision, but it requires a little more effort. To grow daylilies in pots, you will need to choose a container (or pots) that has large holes for drainage. Also, while choosing the container, pay attention to its size. The diameter of the container should be 4 inches or larger than the circumference of the plant’s roots. This gives the plant enough space to continue growing for the next few years.
- Once the container has been selected, it is your turn to plant the root ball. For this, prepare a mixture of potting mix and compost. Now plant the root ball in this mixture in such a way that the top of the ball is about 1 inch below the top of the pot. Fill the empty spaces with the mixture but do not press too hard. Finally, water it and watch it grow.
- Potted daylilies have slightly different demands than inland daylilies when it comes to water and fertilizer. Container plants need to be watered frequently. Apart from this, light fertilizer has to be given once a month to replenish the lost nutrients.
- Taking care like this, keep monitoring the growth of their roots in the coming years. When you feel that the container is not suitable for the roots and they need more space, change the container. Choose a container 4-5 inches larger than the diameter of the root ball. Plant using a mixture of fresh potting mix and compost.
Pests and Problems for Daylilies
However, daylilies are resistant to most pests and diseases. But a few pests and diseases trouble it.
Aphids on daylilies
Aphids are small, soft-bodied insects whose average length is ten inches. They belong to the ‘Aphididae’ family of insects. Aphids that infest daylilies are a shade of light green. These insects usually attack daylilies in swarms and mainly eat the leaves of the plant along with other parts. In this sequence, they also suck the nutrients from the plants.
If you see small white insects on daylilies, white marks, or white spots on the leaves, then understand that there has been an aphid attack. Some aphids are winged while others are normal. They grow in many climate conditions. Whereas these insects are mainly more active in dry weather and hot temperatures.
How to get rid of aphids on daylilies?
The smartest way to get rid of aphids from daylilies is by companion planting. Mint and garlic are the best companion plants. These prevent aphids excellently. Another solution, insecticidal soap, which is used as a spray, would be an effective method. After spraying both sides of the leaves, it is best to wash off the soap after a few hours.
Spider mites on daylilies
One of the most common pests that attack daylilies is spider mites. These insects belong to the arachnid family. These spider mites eat the leaves, especially their lower surfaces. They also suck out the nutrients from the plant, which creates a very serious problem. If care is not taken, the risk of plant death increases.
These green or yellow colored insects are very small in size, due to which it can be very difficult to find them in the daylily plant. Once a plant becomes infected with spider mites, you may notice webbed spots and blotches on the surface of the leaves. Whereas their eggs are in the lower part of the leaves. You can use a magnifying glass to take a closer look. You will need to inspect closely to ensure that various parts of the plant are free of pests or infested.
How to Get Rid of Spider Mites on Daylilies?
These spider mites are more active in hot and dry weather. Meaning they like dry conditions. Therefore, if you keep watering your plants and do not let them dry out, you will soon get rid of spider mites. You can also sprinkle water on the plants.
Daylily Rust on Daylilies and Prevention
Daylilies are plagued by a fungus called daylily rust. These rust-looking orange-yellow powdery spots are seen in the lower part of the stalk. To get rid of these, anti-disease agents are used. Apart from this, to avoid this disease, proper distance should be given to the plants at the time of planting, so that the plants can get good airflow.
Dividing and Planting Daylilies (Propagate Daylilies)
The best way to propagate daylilies is by dividing them. Daylilies grow very fast. Therefore, they usually need to be divided every 3 to 5 years to control their overgrowth. Another benefit of dividing is that the plants get a new lease of life and fresh energy to perform better and flower more often. You can divide them whenever the soil is workable. But the best time is immediately after the daylily blooming season. Plants need at least 6 weeks to re-establish themselves before winter. Take action keeping this in mind.
Process of dividing and planting Daylilies:
- Dig up the root of the plant and remove the entire root ball.
- Remove as much soil from the roots as possible. If you want, you can remove excess soil by soaking the roots in a bucket of water.
- Find the top of the plant.
- Starting at the outer edge, break it into smaller bunches. Usually, 3-4 roots emerge from each plant.
- Remove any damaged or diseased roots.
- Now replant these newly cut healthy parts at the new place and water them thoroughly.


